Create an Inspiration wall
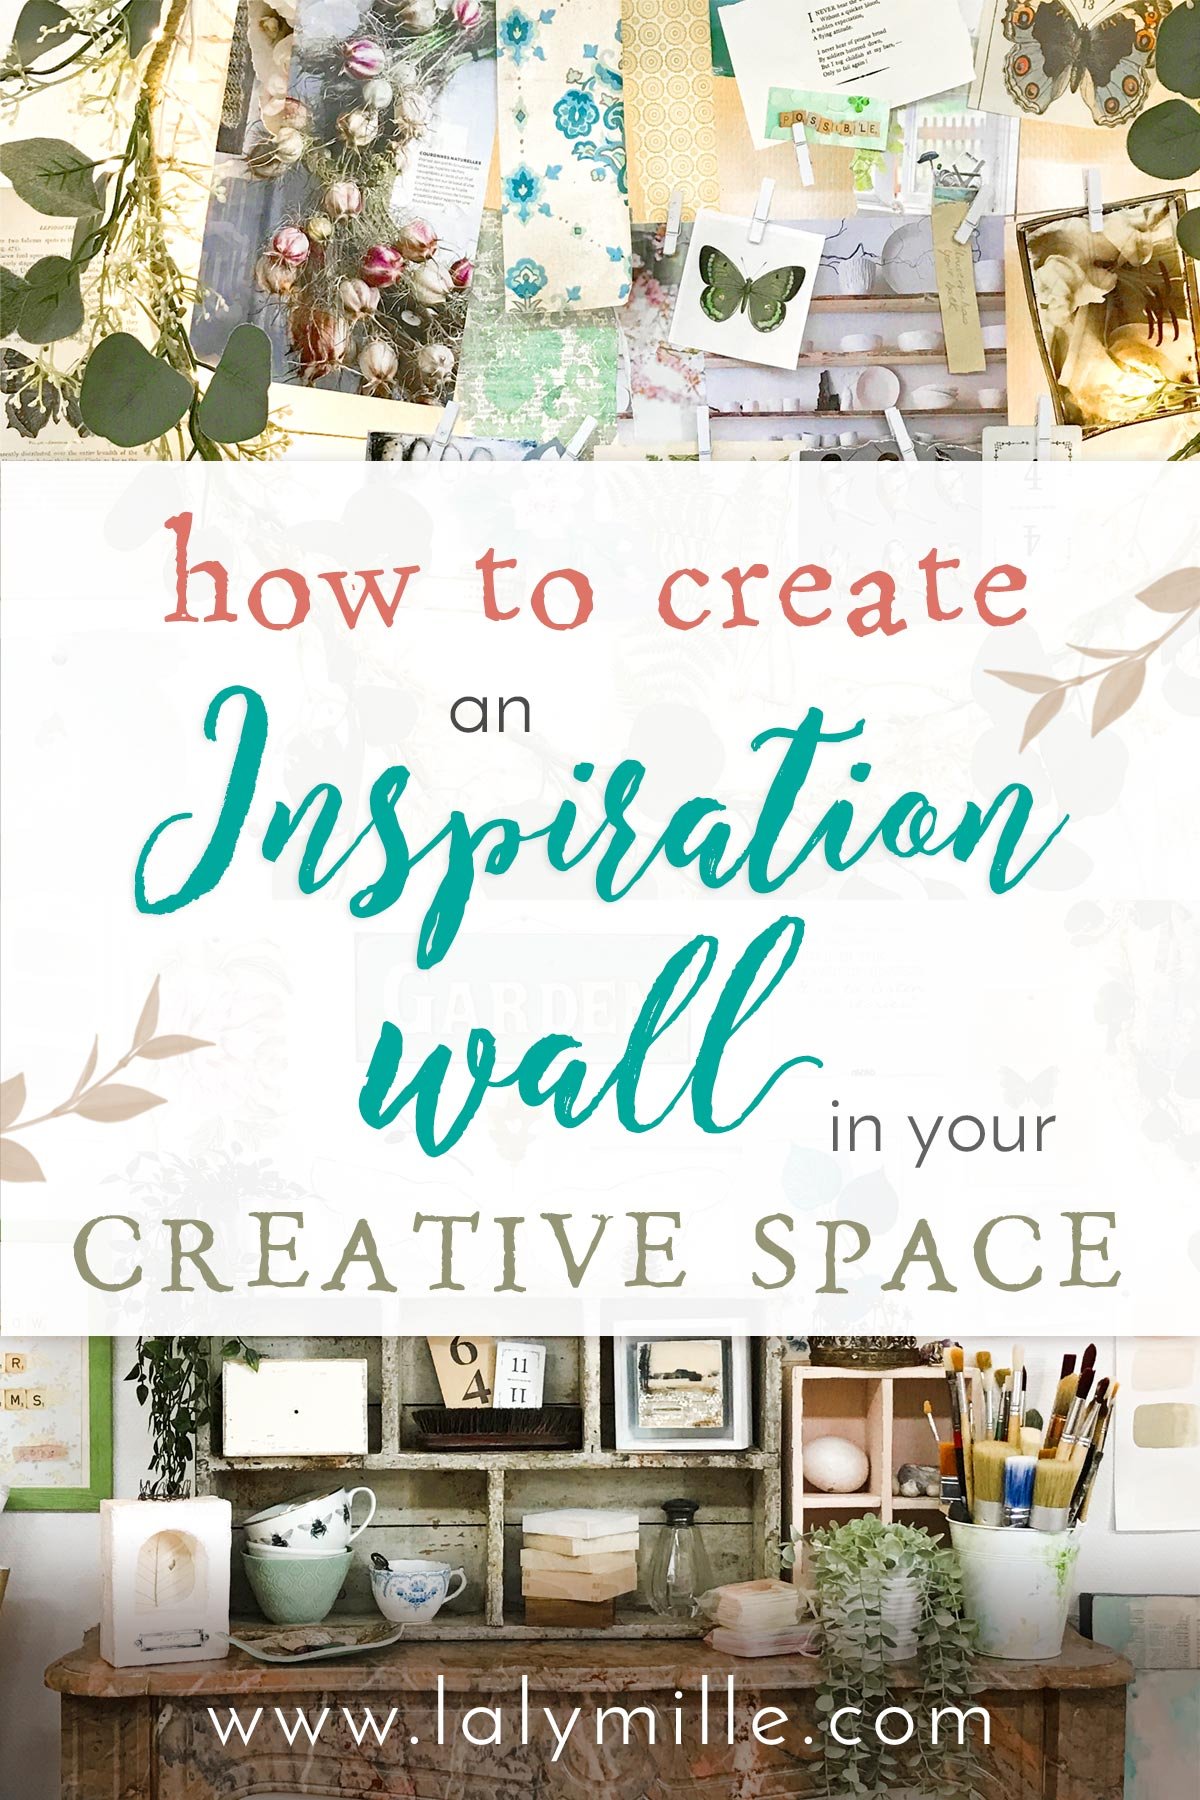
how to create an
inspiration wall
in your creative space
Hello beautiful artist!
Lately the studio got a little out of hand, with clutter accumulating all over the place…you know what I mean? So, this morning I started tidying up the space, a bit reluctantly I must say, as the task felt so daunting.
But the good thing is that, whenever I clean, I can’t help taking a fresh look at my materials, the images lying around and the overall feel of the space. Of course, it wasn’t long before my brain kicked into creative mode again! I looked at my inspiration wall and felt it was time to give it a little update…
tip #1: choose the right spot
The purpose of an inspiration wall is to make you feel inpired, and make you want to create. So the first thing to consider is where you’re going to create it:
Do you want it to be the first thing you see when you walk into the room?
Do you want to see it right in front of you while you create? Or maybe not?
If you don’t have a dedicated room for your art (I worked for years at my kitchen table), where will be the best fit for you:
In the room where you create (kitchen, dining room, spare bedroom, garage…)?
In your bedroom so it’s the first thing you see when you wake up, and the last thing you see before you fall asleep (way to boost your creative dreams!)
Mine is right across the room so it’s the first thing I see when I enter the studio.
tip #2: work with the space
I’ve had several creative spaces over the years, of all shapes and sizes. Right now I’m very lucky to have a really large room with tall ceilings and plenty of wall space, but my two previous studios were under the eaves, so that was a different story. What matters is to find a spot that works in your space, and it doesn’t have to be big to be super inspiring!
There might be plenty of reasons why you can’t use nails or pins in your walls. Here are some workarounds:
If you’re not allowed to, for instance if you’re renting, you can stick images to the walls with pretty washi tape, which will peel off clean when needed. Make sure it’s good quality so it won’t peel off on its own after a few days. A good excuse to treat yourself!
I do NOT advise using blue tack as it can leave oily marks on your walls or tear off the wallpaper, if you leave it on longer than a few weeks.
Another option is to prop a large piece of foam-core board or even a large canvas against the wall, on a dresser or an easel. You can find inexpensive ones second hand.
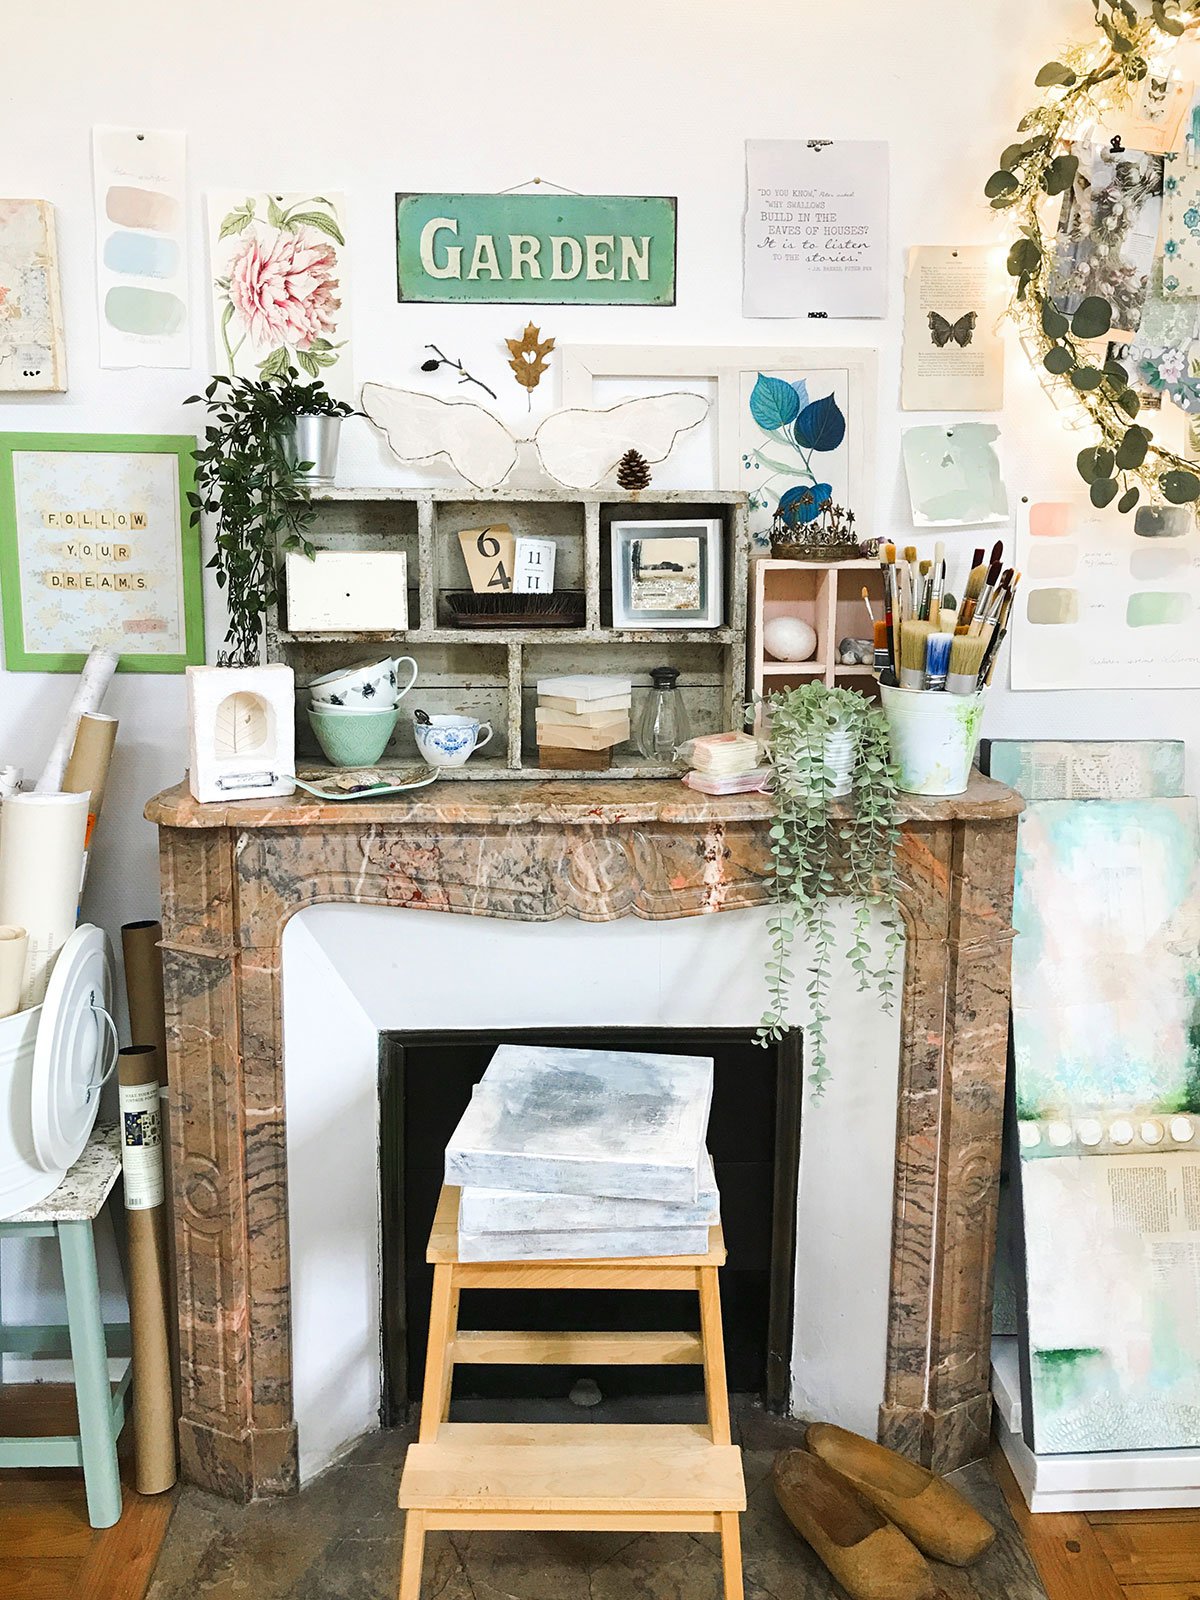
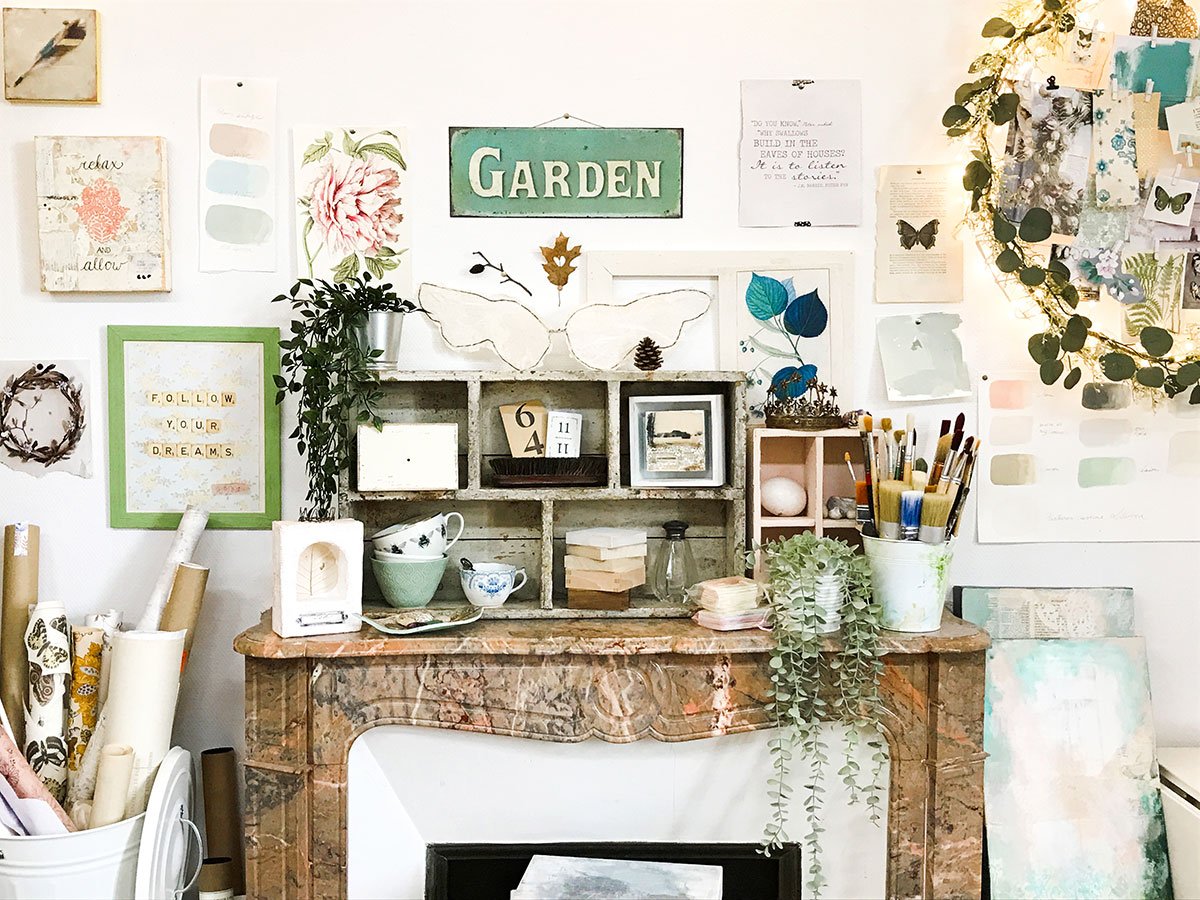
You don’t always need a vertical surface: you could also use the top a of dresser or a small table to create a pretty display! Our home was built in 1901 and my studio used to be the formal dining room, so it comes with a a pretty marble fireplace. Of course the mantel is a perfect display area!

tip #3: choose your format
Depending on your space and your preferences, you can create a full-blown inspiration wall or more compact inspiration board, or a more dimensional display on a table or dresser. You can also combine them all, which is what I did here!
There are plenty of ways to create an inspiration board, and it doesn’t have to cost anything. Here are some ideas of what you can use:
My favorite kind: the wooden frame from an old canvas. You can remove the canvas or simply flip it over and use the back. Staple some string from one side to the other and hang your pictures with mini pegs or paper clips
I once found an old bicycle wheel on the side of the road: it makes an amazing and quirky board!
For a long wall or in a corridor: hang a clothesline all along and use pegs.
Notice boards and cork boards are a great option. There are plenty different kinds at Ikea for instance, or you can find them second-hand.
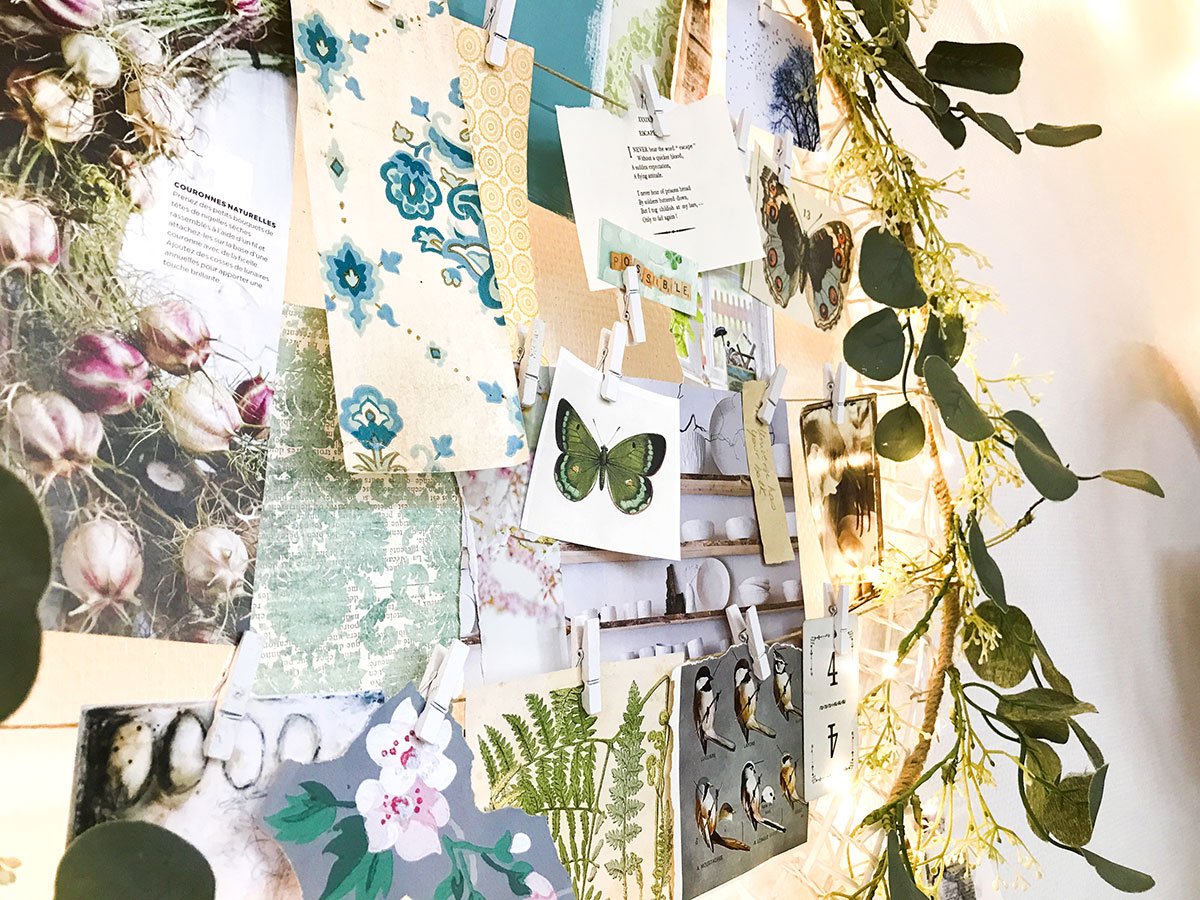
For a fancier and super dreamy option, the one I currently use is a fairylights wreath! With string tied from side to side. Mine is from Ikea but I’ve had it for many years and they don’t carry it anymore. It used to be called Glansa and you might still be able to find it second-hand. But it’s easy to find this kind of wreath around Christmas, and you might get a better price if you’re patient enough to wait for the New Year!
There are plenty more inspiring ideas on Pinterest but it might take you down a looong rabbit whole. My advice, as usual, is to look around your home and see if you can work with what you’ve got!
tip #4: fill your wall, feel inspired!
Once you have decided on your space and how you’re going to display your beautiful, inspiring items, it’s time actually choose and arrange them! Here are some ideas, and what matters most is that it should feel like YOU:
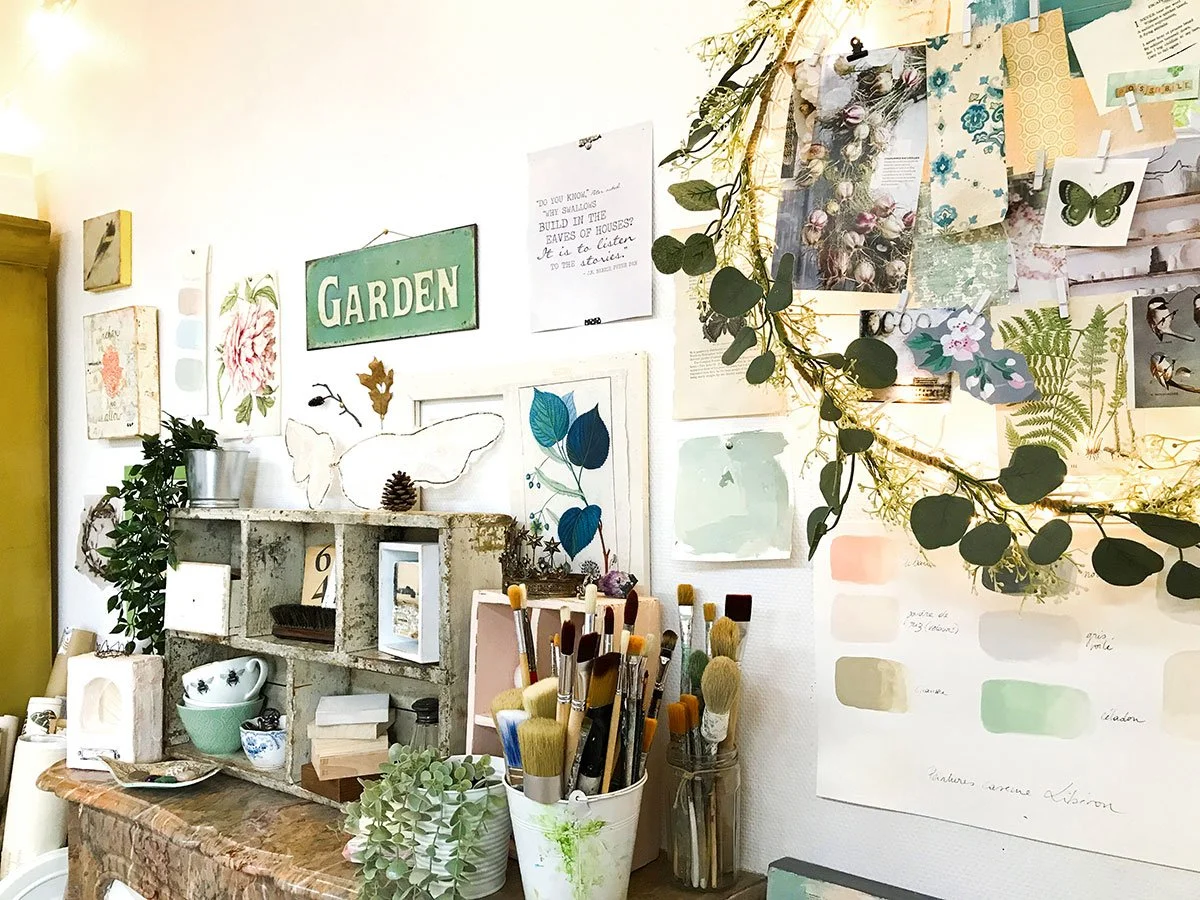
Reminders of nature: leaves, twigs, pebbles, shells, crystals, plants. I’m very much a plant lady and have lots in almost every room of the house, but unfortunately, my studio is North-facing with little natural light most of the year, so I’ve given up on live plants there. I’ve still added some artificial plants and leaves as you can see. Ikea has a great selection.
Your favorite colors: I love to look at my wall and instantly see my signature palette, my Soul Palette as I like to call it. It’s a great source of ideas for color combinations too! When I get new paints or come up with a mix I really love, I paint a sample on paper and hang it on the wall.
Inspiring images: anything that makes your soul sigh and your heart flutter. They can be from magazines, vintage books or printed off the web, as well as personal photos of course.
Favorite art from other artists
Favorite art from YOU! When I do some little warm-up exercises, I often end up with some lovely bits and pieces that are not “finished” art, but are beautiful in their own way.
Pretty patterns: I love to display left-overs from my stash of collage papers: dots and vintage florals are my favorite!
Inspirational words: favorite quotes, poems, affirmations or sometimes a single word, like my word of the year, written in big bold letters. Postcards and letters from loved ones are a wonderful way to add love and good vibes!

tip #5: useful & dimensional
I don’t know about you but to me, one of the things that most inspire me are my art supplies. When I see them all beautifully displayed and ready to play, it makes me want to create! A jar of paintbrushes is like a pretty bouquet, a pile of little substrates feels as tempting as cake… that’s why I love to include them in my inspiration display.
I also love to include other dimensional elements like vintage objects, pine cones or dimensional art that I created, like the wings here. I love this eclectic mix of utilitarian and artsy elements, I feel that it makes the whole display come alive.
Above all, the most important advice I can give you is that, whatever its size or shape, your inspiration corner needs to feel like you and work for you. Creating an inspiration wall is a great way to practice following your inner compass: the little voice of intuition that is always guiding you towards what feels like home, and will help you make art that is uniquely yours. Follow it as you choose your elements. Discard anything that feels even slightly off.
I hope this has inspired you! Please leave a comment for me below and tell me which idea you will take away and use in your own space. Post a picture of your inspiration wall or board on Instagram and use the hashtag #paintwithlaly so we can all see it and feel even more inspired!
layers of light
let your light shine through your art
A luminous journey of self-discovery through mixed media painting: Learn all my favorite techniques and let your light shine through your art!


