How to Pack a Painting
How to
pack a painting for shipping
Hello beautiful artist!
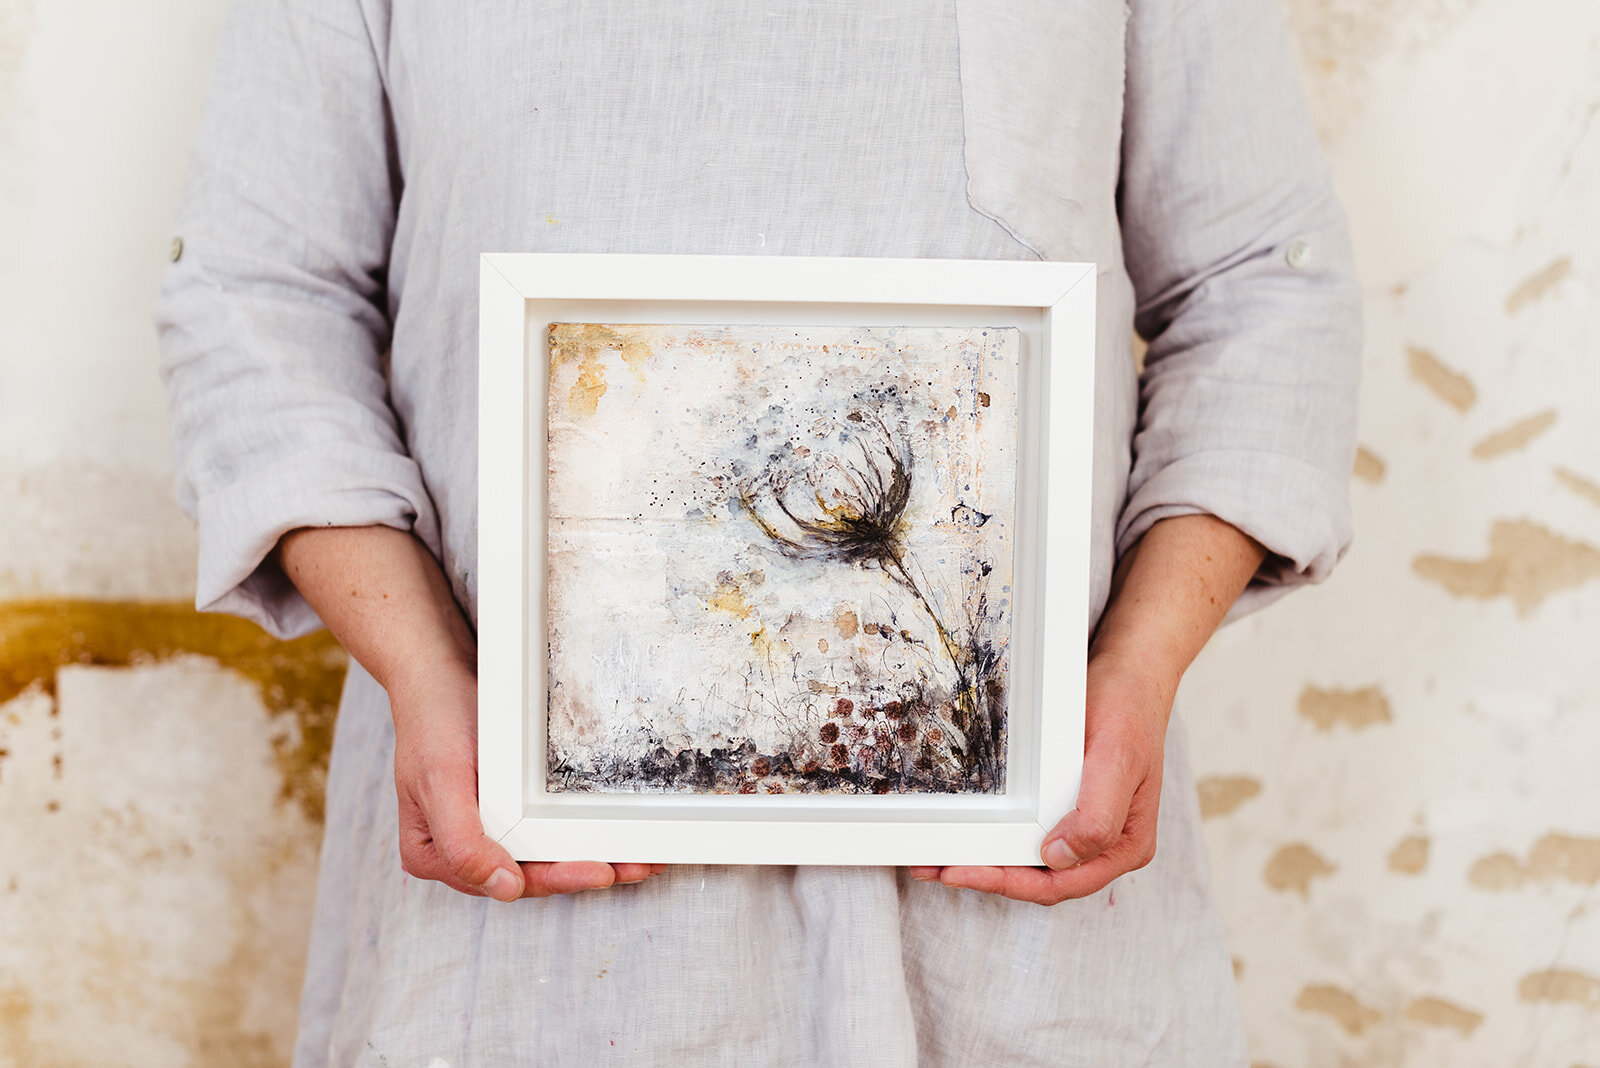
We still can't travel, and probably won't be able to for a while longer, but our art can! Today I'm so excited to share a brand new video tutorial with you. Every year I make my art available for purchase during an online show, which is followed by a crazy week (or two) of packing and shipping artworks. Last time we did it, I thought it would be fun to film the way I prepare my paintings for shipping around the world!
I remember how much time I spent looking for information about this, so in case you've been wondering about it too, I hope you will find this tutorial useful. I’m sharing the whole process, step by step, in the two videos below. Then scroll down for a summary of my best tips + a list of the materials I’m using. Enjoy!
List of materials
It’s important to try things out and see what works best for you. Here is a list of the materials I’m using (contains affiliate links):
A flat cardboard box to fit the size of your painting. For larger artworks (50 cm / 20” and up), I recommend a telescopic, two-part box.
2 MDF panels cut to the size of your painting. Mine are 4mm thick, I have them cut at my local DIY store.
Cloth (to wipe off any saw dust from the MDF panels)
Different kinds of tapes:
Sharpie marker
Pencil
Stapler (strong enough for cardboard)
Scissors (a good quality, large pair for cutting bubble wrap, cardboard, tape etc.)
Ruler
Several sheets of acid free, white tissue paper
Optional: “Do Not Stack” and “This Way Up” labels
Personal touches (take the time to come up with your own!):
Certificate of authenticity
Business card
Washi tape
Gift of your choice (I like to include a set of notecards or/and a signed art print)
Personal thank you note
Stamp and archival ink pad
Favorite tips
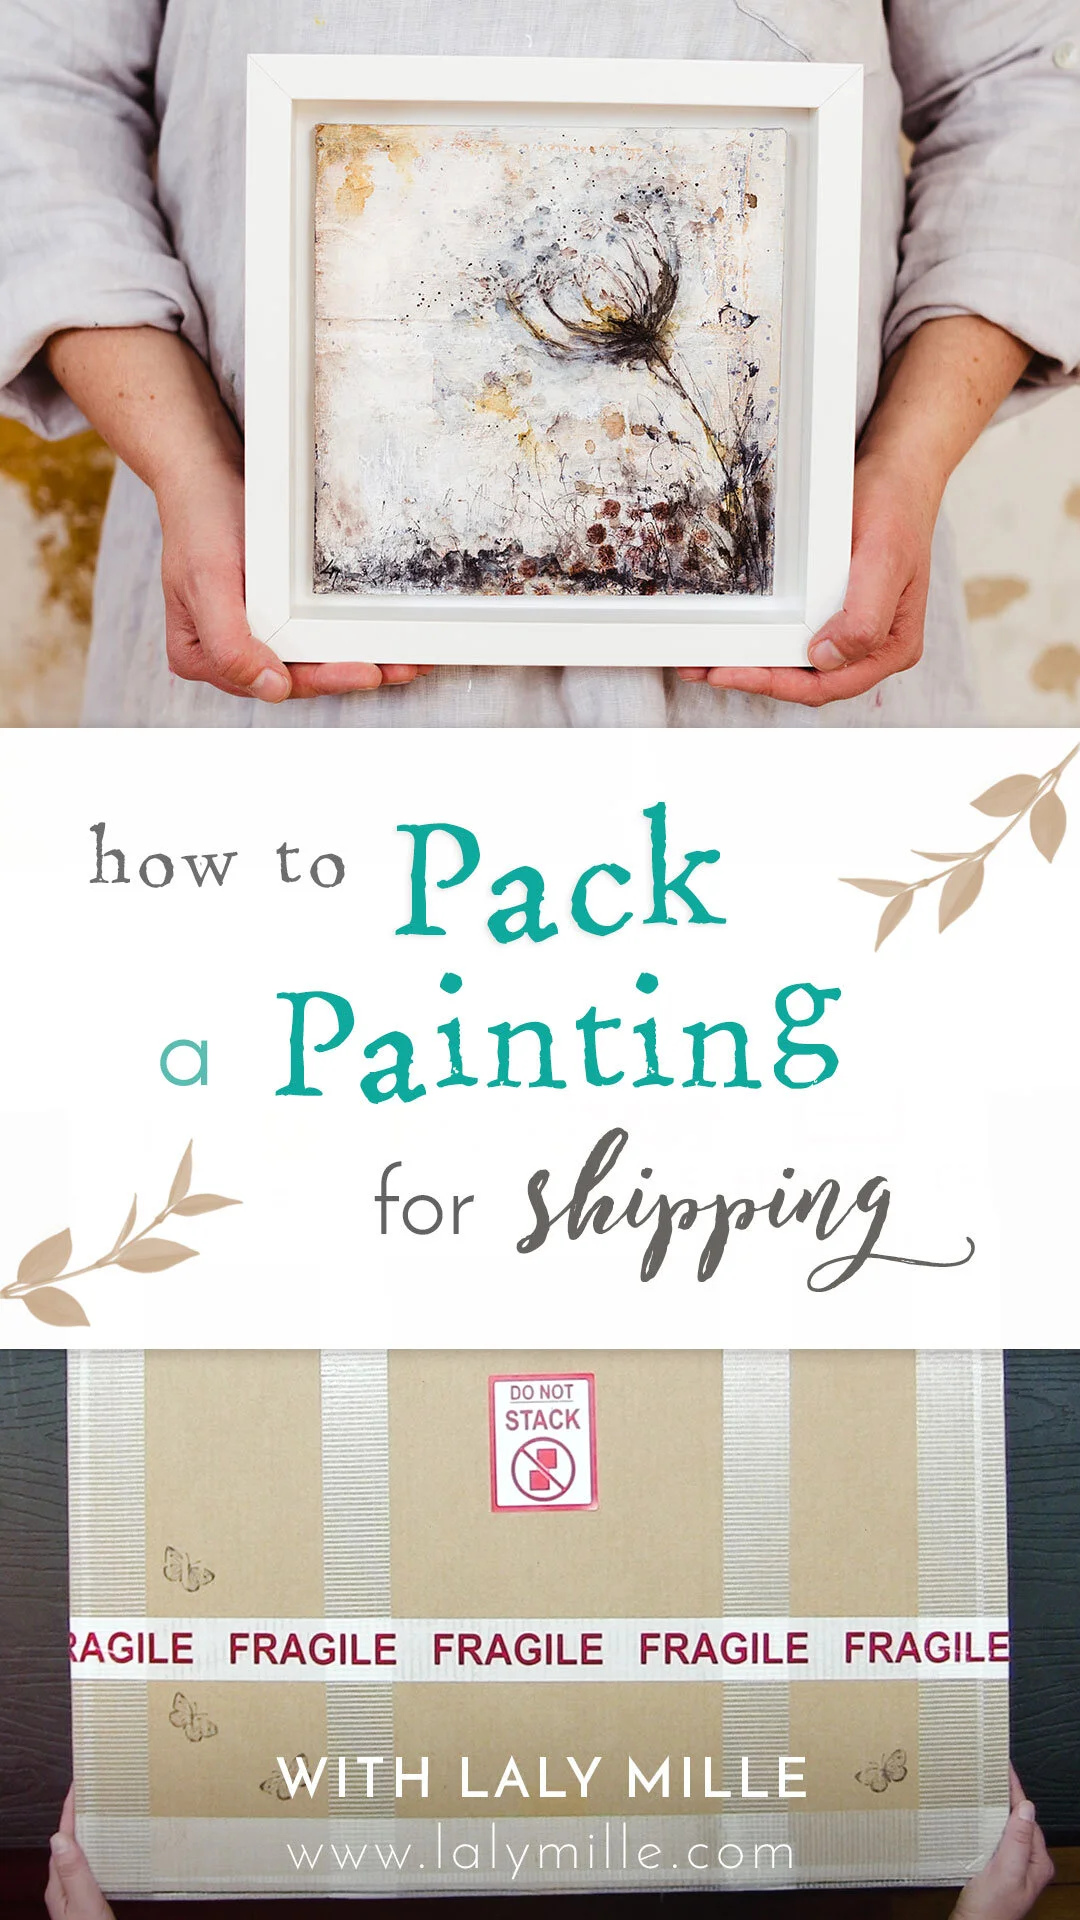
pin this image to pinterest if you enjoyed this post!
Here are some of my best tips from the videos. It’s taken me a while and a few mistakes to find a process I can rely on:
Start by covering your hair (no pets or kids allowed!) and washing your hands.
Make sure you have a whole, clear table at your disposal.
Prepare all your materials and cut all your pieces of bubble wrap beforehand: it makes the whole process much smoother.
A good quality pair of scissors is essential, you don’t want lousy scissors for this job!
Cut a whole stash of cardboard corners in advance, this way you won’t have to do it every time you need to ship a painting.
Similarly, at the DIY store, get several pairs of MDF panels cut at the same time, to fit the canvas formats that you most often use. It will save you time.
Make sure to write the name of the painting on the bubble wrap, especially if you are preparing several parcels of the same format at once! There’s nothing more frustrating than having to undo all your hard work to check which is which…
I use this method for paintings that are between 40 x 40 cm (16”x16”) and 70 x 80 cm (27,5” x 31,5”) because of the size limit of the French postal services. I’m still looking for a cost-effective way to ship larger artworks around the world.
Make sure to check with your carrier if they have any specific requirements.
I hope you find this useful and that it will make you feel more confident if you ever need to ship a painting the the other side of the globe! If you have any questions, please let me know in a comment below.


