Quick & easy inspiration board
quick & easy
inspiration board tutorial!
Hello sweet creative!
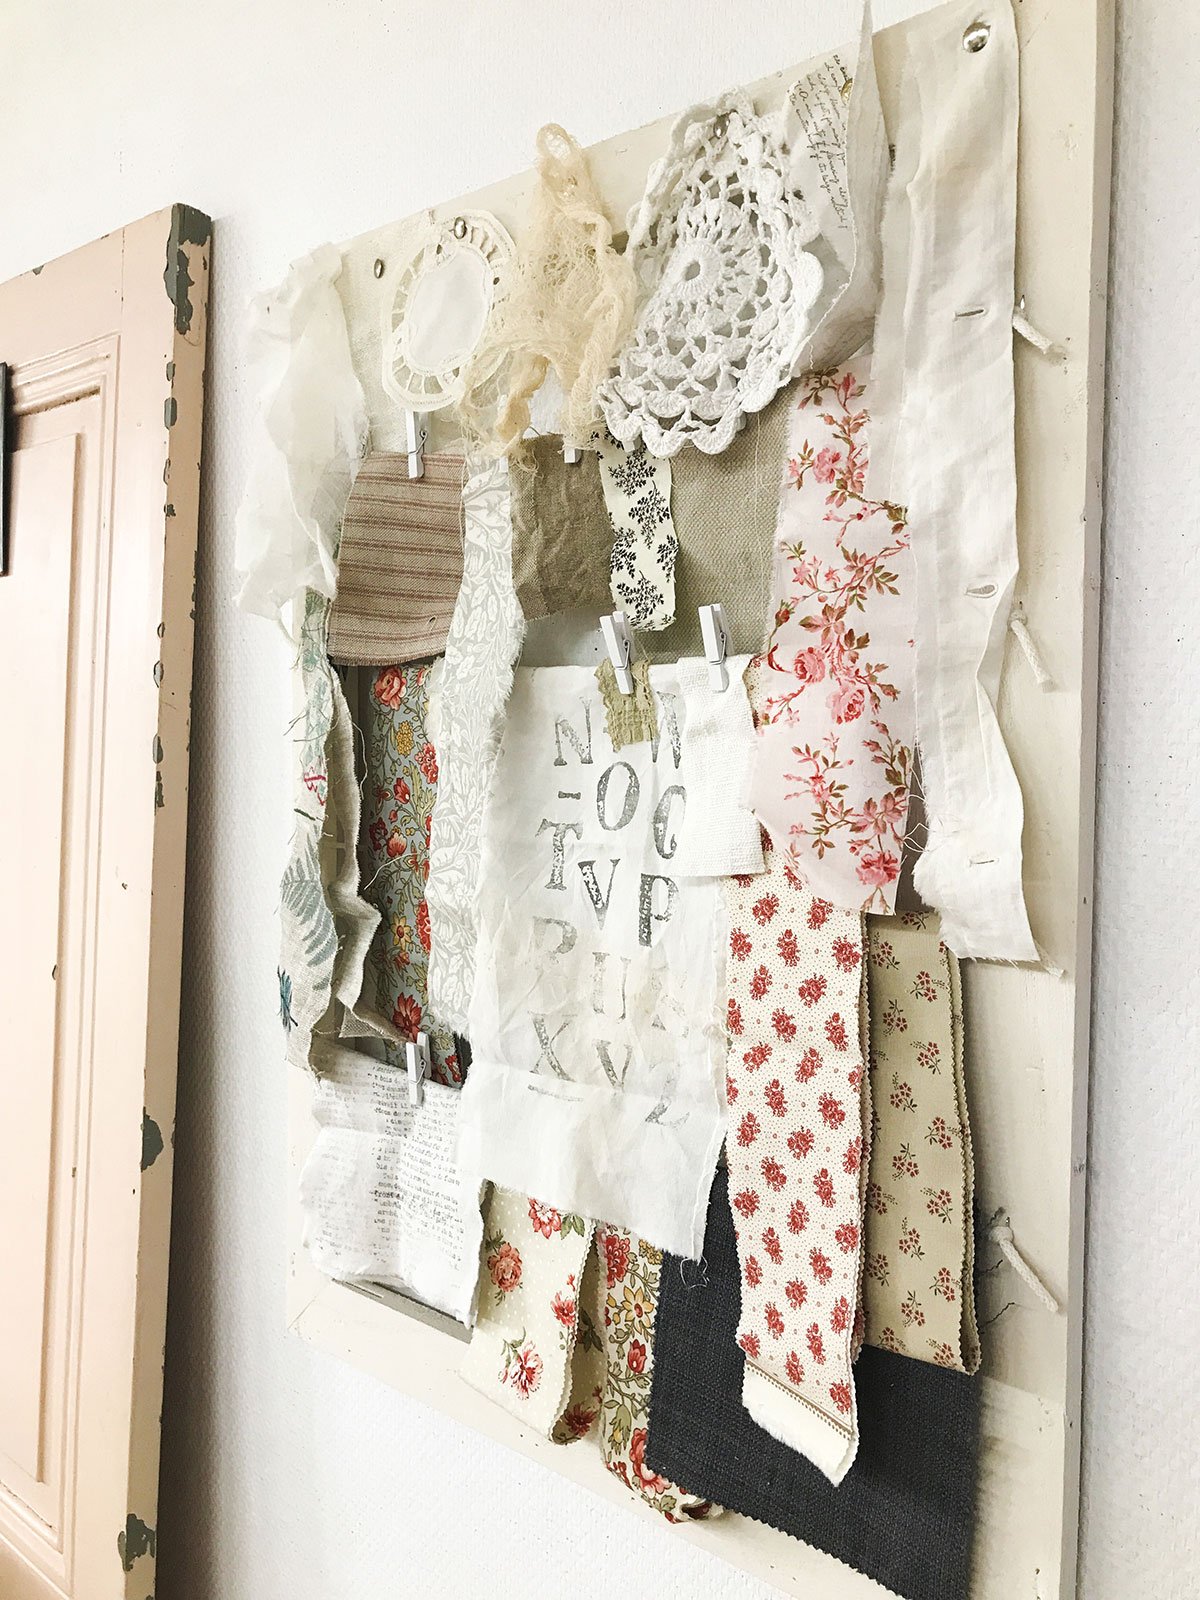
I love to make inspiration boards (so much!!) and this week I made an extra one for my current textile projects. I thought I’d share the process with you!
So here is my favorite, super quick and easy method to make an inspiration board from an old wooden frame. I have several around the studio, mostly for photos, quotes etc. It's actually the first time I hang fabric instead, and it works great!

what you'll need:
(I’m including Amazon affiliate links in case you need them)
a wooden frame: mine is from an old canvas but it works great with any kind of wooden frame. A vintage one can look awesome!
string, twine, cord, yarn… whatever you’ve got! Here I used some macrame twine. Any regular kitchen string or gardening string works great too! I like natural materials better.
scissors (Fiskars is my brand of choice for good, reliable scissors around the studio)
diy or heavy-duty stapler / staple gun: I've had mine for years so I'm not sure they still make it, but THIS ONE by Fiskars seems great.
mini pegs or any kind of small clips, paper clips… I’ve even used hair clips in the past!
optional: thumbtacks to pin extra inspiration to the wood itself!

how to make it:
The process is really straight-forward and I don’t measure anything (I rarely do!). Here are the steps:
Place your frame on a sturdy table or on the floor
Cut however many pieces of string you need, depending on the size of your frame, making sure that each piece is a good extra length so you will be able to tie your knots comfortably.
Place one end of the first piece of string where you want it and staple in place. Do the same with the other ones.
NB: You can space them out evenly… or not! For instance you could have two pieces of string that are closer to each other for small swatches or images, then some that are further apart to give you more space for larger images, letters etc.
Turn the frame around.
Pull on the first piece of string so it has good tension and is parallel to the top of the frame (mine was very stretchy so I really had to tug on it!).
Staple in place.
Repeat with the other strings.
Tie a knot around each staple, pulling your string tight towards the outside of the frame.
Cut off the excess string.
Hang your fabrics or images!
Hang your board to the wall or lean it against the wall on a dresser etc.

vintage frame alternative
While I was at it, I made a second inspiration board from a vintage frame I had lying around the studio. This time I stapled at the back of the frame so you can’t see the knots. It’s a slightly more polished look and I really like it for my office nook in our living room! I haven’t yet taken the time to fill it, but I’ll probably add some inspirational quotes, little notes from my kids etc.

By the way, this is where I’m sitting right now writing to you!

I hope this has inspired you! And I have plenty more ideas to help you set up or reorganize your creative space:
I my previous post I shared all about my new sewing station: my textile inspiration board was the cherry on top!
Want to take it further? How about making a whole inspiration wall?
And you will find plenty more studio inspiration and full tours here. I’ll be sure to add a new tour soon, as my space has evolved quite a bit lately!

What would you put on your inspiration board these days? I’d love to know!

Keep in touch!
Subscribe to receive new blog posts and a sweet dose of inspiration on Fridays for an inspired weekend!
woven dreams
FREE-STYLE MIXED MEDIA WEAVING
In this relaxing & whimsical workshop, we will weave together beautiful, unusual and recycled materials to create delicious and very touchable mini artworks!


