Setting up a sewing station
a sewing station
in my art studio

Hello lovely creative!
I always love to learn new techniques and imagine new ways of expressing myself creatively. There’s nothing like the beginner’s spirit to keep the process exciting! In the coming months, I’ve decided to focus on textile art a lot more, and I’ve been wanting a functional sewing station for a while. This week I finally set it up, and I thought I’d share with you how it evolved into something I really love! Come take a peek at this new sweet spot in my studio.
Ever since I got a new sewing machine last year, I’ve felt a lot of resistance to using it, especially because it’s a more modern one, which means I need to learn how to use it, which feels a bit (a lot) daunting. A few months ago, full of good intentions, I invested in a proper, dedicated table (the Ingatorp table from Ikea) and set up a small sewing area in a corner of the studio. It seemed great, until I realized that I was not using it. The resistance gremlin was still there! Last month I reorganized the rest of the studio and in the meantime, this little corner is where all the “stuff” landed and piled up…

the right spot
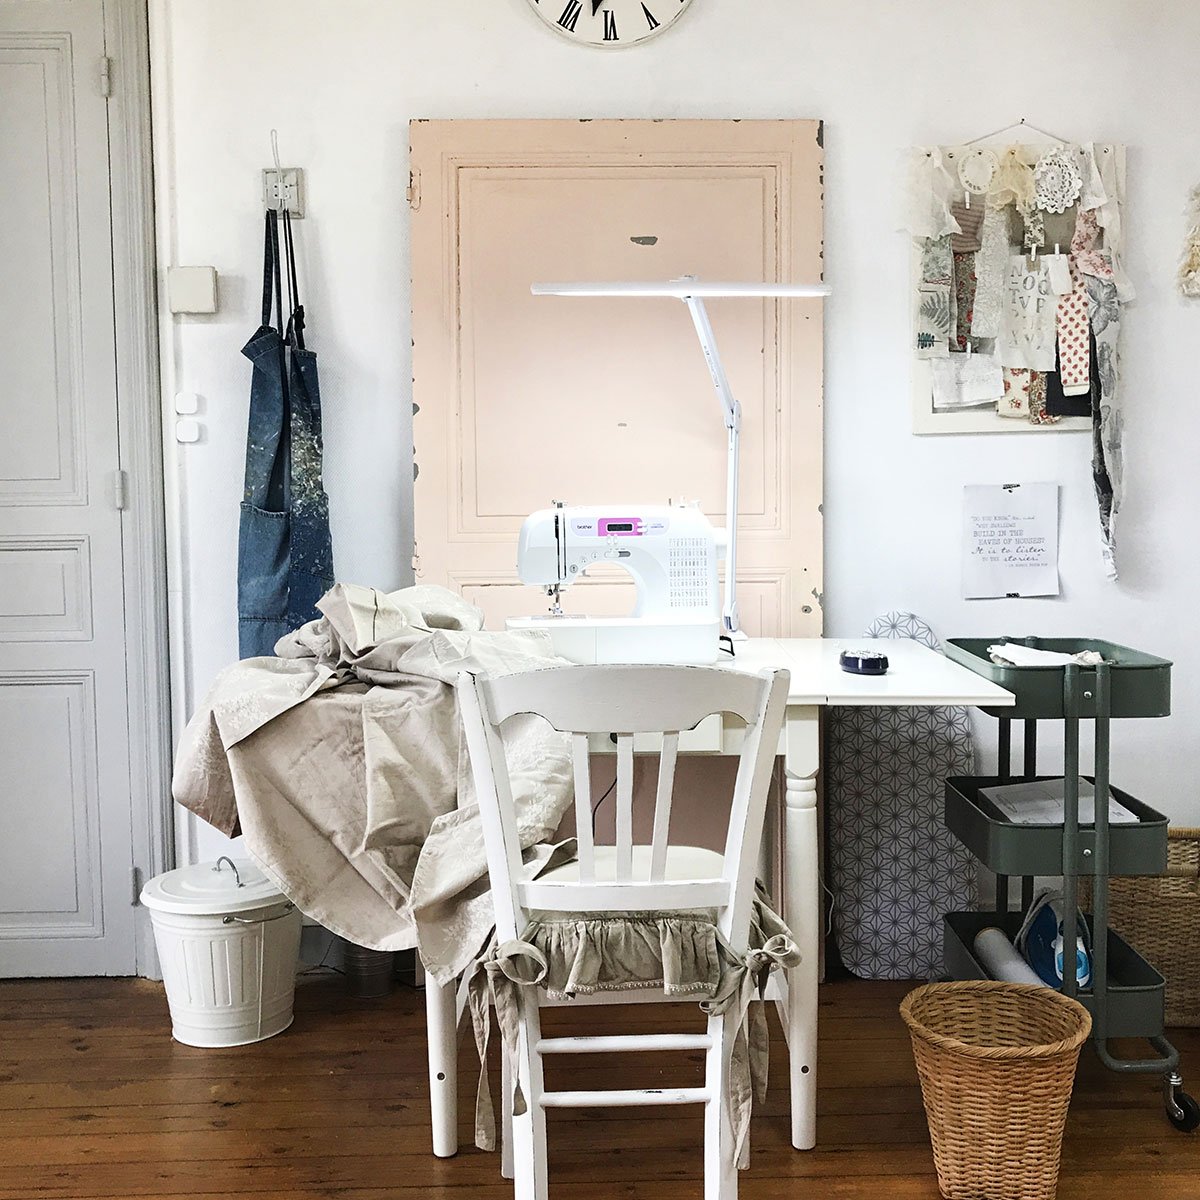
The rest of the studio is done now, and we’re also done packing and shipping all the artworks from my last show, which means that all the boxes and temporary extra tables we had set up are gone. This leaves me with a big, empty space to play with! So here is my “blank canvas”:

I think the main problem with my sewing corner before, was that it was… well, a corner. If I want to sew the hems of some curtains (which seems like a straightforward and simple enough project to make friends with my sewing machine), then I need more space, especially to the left of my table.
Its best feature is that it is a drop-leaf table, which makes it easy to fold when not in use, but also gives me plenty of room to spread large pieces of fabric, or even set my small ironing board on top when needed. So this other spot makes a lot more sense:

my essentials
Once you’ve got the placement right, it’s a simple matter of organizing your materials:
Most of what I need is tucked away in the table’s little drawer (needles, scissors…)
A good task lamp, as I’ll have my back to the main ceiling lights (I’ve been very happy with this one for years)
A bin that’s just for textile leftovers so that they can easily be set apart for recycling.
A rolling cart to hold current projects, my iron and a few other little things.
A dedicated inspiration board for textile projects! (I’ll share how I made this one in my next blog post)
I still had a large enough empty corner to the left of my station, and at first I thought I’d add the small dresser that’s holding my printer, but it didn’t feel right. I had a far better idea at the back of my mind…


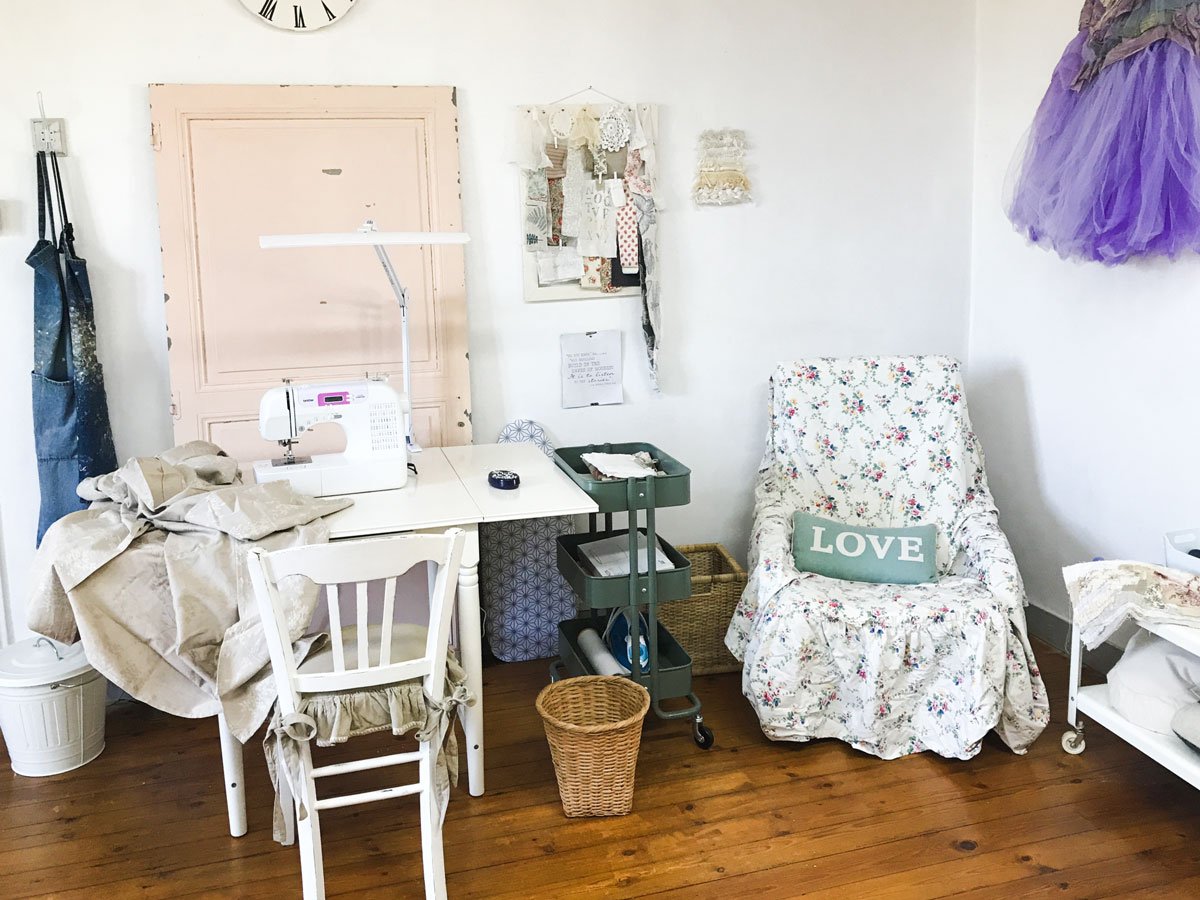
let's get comfy
Theeeere you go…! I had been wanting a comfy sitting area for so long. I mean, whenever William would walk into the room to discuss something together, we’d literally have nowhere to sit. Not anymore! And it’s going to be the perfect spot to do some blissful slow-stitching while listening to my favorite art and biz podcasts.
As a temporary fix, we borrowed my parents old Ikea Poang chair from their attic, as well as the matching foot stool. I covered the jungle print under some vintage fabrics, and for now it does the trick! This way we can test the space, see if we enjoy using it, before investing into something more permanent.

And here is what my sewing station looks like when in use, with the table unfolded:
textile dreams
By the way, in case you’re wondering about the fairy dress on the wall, it’s an upcycled dress I made for myself, for my little sister’s wedding many years ago. You can see more pictures of it HERE.
I’ve taken it out of its box to remind myself that, once upon a time, I was confident enough in my sewing skills to embark upon this crazy project! I don’t know why or when I’ve started losing some of that confidence and feel intimidated. Maybe it’s because of all the gorgeous textile art books I’ve got, or the contemporary textile shows I’ve been to. Come to think of it, I did apply once to participate in a local fiber art show, and didn’t get accepted. Ha! I love how writing this blog sometimes helps me become more aware of my journey, something juicy to explore for sure!
For now, the dress is a positive reminder that there is absolutely no reason to doubt myself, and that it’s ok to dream big! A couple of months ago, I blogged about my slow-stitching beginnings, you can see and read more in this article:

And stay tuned because next week, I’ll share my super quick and easy technique to create an inspiration pinboard like the one above. I’ll see you there and in the meantime, please leave a comment!
woven dreams
FREE-STYLE MIXED MEDIA WEAVING
In this relaxing & whimsical workshop, we will weave together beautiful, unusual and recycled materials to create delicious and very touchable mini artworks!


